
What Is the Best Optometry Equipment to Buy in 2026?
Choosing the best Optometry Equipment for 2026 requires more than comparing prices or counting features. A modern practice may need an optical coherence tomographer, digital refractor, autorefractor, visual field analyzer, or advanced retinal camera. Yet the most impressive device may not suit every clinic. Patient volume, examination space, staff training, maintenance access, and referral patterns should guide the decision. As optometrist and health-technology educator Dr. Nathan Bonilla-Warford has said, “Technology should support clinical judgment, not replace it.” That principle remains important as artificial intelligence and automated screening become more common.
This guide examines equipment through practical clinical experience, published evidence, workflow efficiency, and long-term value. A device should produce reliable measurements in a real examination room, not only in a polished demonstration. Consider a technician repeating a scan because a patient blinked. That small delay can affect the entire schedule. Service contracts, software updates, data security, calibration, and interoperability also deserve close attention. They are easy to overlook.
No buying guide can be perfect.
The right choice depends on each practice. A rural clinic may prioritize durability and remote support, while a specialty center may need deeper imaging and faster data analysis. Some newer systems appear promising but still require broader clinical validation. That uncertainty matters. We will compare the strongest Optometry Equipment options for 2026, identify where each device performs well, and question whether its added features justify the cost. The goal is not to recommend the most expensive setup. It is to help clinicians build a safer, efficient, and evidence-informed examination environment.
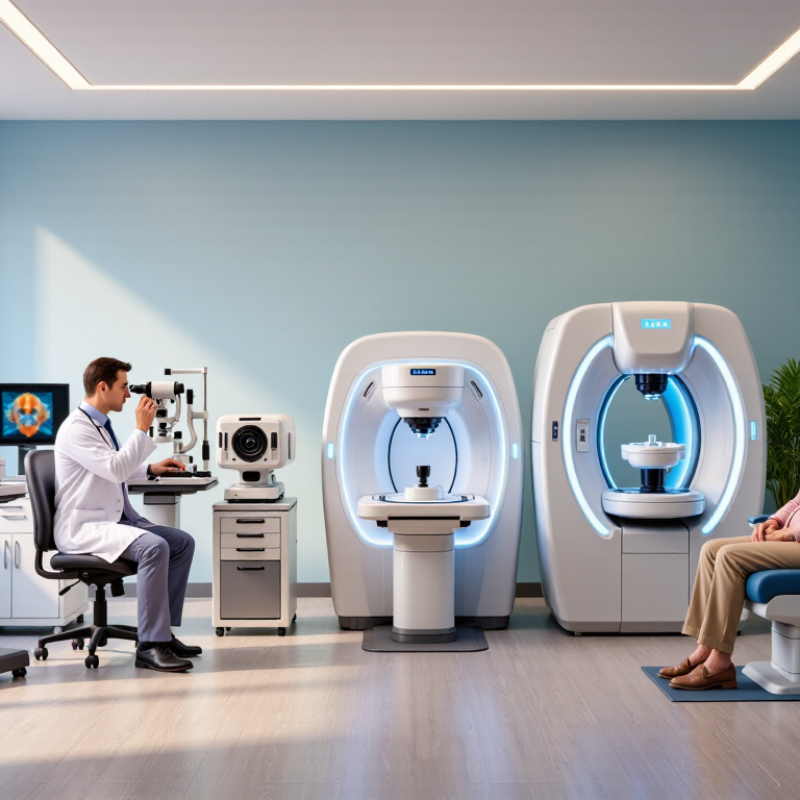
Understanding Optometry Equipment Needs in 2026
What Is the Best Optometry Equipment to Buy in 2026?
Understanding Optometry Equipment Needs in 2026
The best equipment depends on the patients you see, the services you offer, and the room you have. A busy clinic may value quick measurements, while a smaller practice may need versatile tools that serve several exam types. Start there. List your most common appointments, then identify where delays or repeat measurements occur.
For routine eye exams, consider how refraction tools, imaging devices, and examination chairs fit together. Check whether results can move into your existing records without manual re-entry. Small details matter. A clear display, reachable controls, and comfortable positioning can reduce friction during a full clinic day. Ask about training, service response times, calibration needs, and the cost of consumables, not just the purchase price.
Newer features can be appealing, but they are not automatically useful. Compare specifications against real clinical tasks, and request a demonstration with realistic patient scenarios. Measure doorways, work surfaces, and storage before ordering; equipment that barely fits can complicate daily care. There may be trade-offs: a compact device saves space, but might not cover every preferred workflow. Write down what you are willing to compromise on, then verify those limits with qualified clinical and technical advisers.
What Is the Best Optometry Equipment to Buy in 2026? — Understanding Optometry Equipment Needs in 2026
| Equipment | Primary clinical role | Best suited to | Typical purchase priority | Indicative equipment budget (USD) | Key buying considerations |
|---|---|---|---|---|---|
| Visual acuity chart or digital acuity display | Measures distance and near visual acuity during routine examinations. | Every optometry practice; choose a format that fits the room and patient population. | Essential | $300–$2,000 | Check viewing distance, chart calibration, contrast options, room lighting, and accessibility features. |
| Trial lens set and trial frame | Supports subjective refraction and prescription refinement. | Practices that perform manual refraction or need a portable backup. | Essential | $500–$2,000 | Confirm lens range, cylinder and prism availability, lens condition, and storage-case durability. |
| Auto-refractor / keratometer | Provides an objective starting estimate of refractive error and, where included, corneal curvature. | Practices seeking to streamline preliminary testing and refraction workflows. | High | $3,000–$10,000 | Assess measurement repeatability, patient positioning, data export, calibration requirements, and service access. |
| Phoropter or refractor head | Enables clinician-guided subjective refraction. | Practices conducting comprehensive eye examinations and prescription checks. | High | $2,000–$8,000 | Compare manual and automated operation, controls, patient comfort, room compatibility, and maintenance needs. |
| Slit lamp biomicroscope | Magnified examination of the anterior eye, including the cornea, conjunctiva, and anterior chamber. | Nearly all comprehensive eye-care settings. | Essential | $2,000–$8,000 | Review magnification range, illumination quality, filters, imaging options, ergonomics, and availability of compatible accessories. |
| Tonometer | Measures intraocular pressure as part of eye-health assessment. | Practices providing routine glaucoma risk assessment and follow-up. | High | $1,000–$12,000 | Costs vary by measurement method. Consider patient tolerance, calibration, infection-control workflow, and whether disposable supplies are needed. |
| Lensmeter (lens analyzer) | Measures the optical power and parameters of spectacle lenses. | Practices dispensing spectacles or verifying existing prescriptions. | High for dispensing practices | $1,000–$4,000 | Check support for single-vision, multifocal, and prism measurements, plus ease of use and calibration procedures. |
| Retinal fundus camera | Captures retinal images for documentation, review, and appropriate referral or monitoring workflows. | Practices that use retinal imaging for patient education or eye-health documentation. | Optional to high, depending on workflow | $8,000–$25,000 | Compare field of view, image quality, dilation requirements, storage, privacy controls, and integration with clinical records. |
| Automated visual field analyzer | Assesses visual field sensitivity, often to support glaucoma evaluation and monitoring. | Practices with a suitable patient volume and a defined visual-field testing workflow. | Optional to high, depending on services | $8,000–$25,000 | Review test strategies, patient usability, reliability indicators, software support, and ongoing service costs. |
| Optical coherence tomography (OCT) system | Produces cross-sectional images of retinal and other ocular structures to support clinical assessment. | Practices with the clinical need, trained staff, and patient volume to use advanced imaging. | Advanced / service-dependent | $35,000–$100,000+ | Compare scan capabilities, image interpretation workflow, training, data storage, service contracts, and total cost of ownership. |
| Examination chair and instrument stand | Positions the patient and supports examination instruments safely and efficiently. | New practices, room renovations, or clinics replacing worn furniture. | Essential for a complete exam lane | $5,000–$15,000 | Check room dimensions, weight capacity, patient accessibility, electrical requirements, warranty, and installation costs. |
Budget note: Price ranges are broad illustrative estimates for equipment only in USD. Actual 2026 prices vary by configuration, condition, service coverage, taxes, shipping, installation, and regional market. Prioritize equipment according to clinical scope, patient volume, staff training, and local regulatory requirements.
Related Posts
-
How to Choose the Right Optometry Equipment for Your Practice Success
-
Top 5 Optometry Equipment You Need for Better Vision?
-
2025 Top Trends in Optometry Equipment You Need to Know About
-

7 Essential Tips for Choosing the Right Optometry Equipment
-
What is Ophthalmic Equipment and How is it Used?
-
Top Optometry Equipment for Global Buyers in 2026?